“The big conundrum with LLMs is that they’re trained on the musings of billions of people, many of whom aren’t exactly experts. Essentially, LLMs are like a giant blender mixing together millions of internet ramblings. These machines can mimic human writing, but without the depth of understanding, they often sound right while missing the mark.”
— Me, Gary Febbrarino
My adventures with the RAG Framework
Embarking on the exhilarating journey into the AI domain, I recently dove deep into the fascinating world of Retrieval-Augmented Generation (RAG). This sophisticated approach in natural language processing combines the best of both retrieval-based logic and pre-trained generative models, aiming to enhance the quality and relevance of text generation. It’s like the ultimate team-up in an AI superhero movie, where different strengths come together to save the day.
So, what exactly is RAG? Imagine you have a vast library of knowledge stored in chunks. When a question is asked, RAG swoops in to find the best matching chunk of context, provides this context with the question to the LLM (Large Language Model), and then refines the answer with a specific business context. It’s a bit like having a super-intelligent librarian who not only knows where every book is but also how to interpret and explain them in the best possible way.
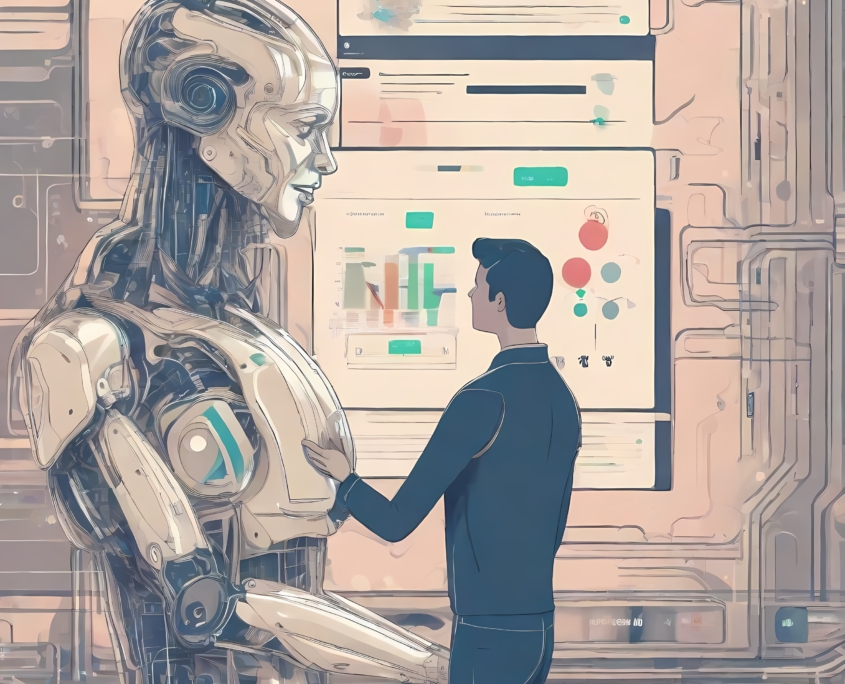
AI generated image, credit – Create Art or Modify Images with AI | OpenArt
Let me break it down for you:
First, we load raw data from various sources, turning a chaotic jumble of information into a goldmine of potential answers. Next, we transform this raw data into a common state, ensuring consistency and compatibility. It’s like taking the scattered pieces of a puzzle and making sure they all fit together.
The magic continues by vectorising the data, converting it into numerical representations that the AI can efficiently process (I refer to this as creating semantic similes). The retriever then steps in, locating relevant information from this vast dataset based on a given query. Think of it as a digital treasure hunt where the prize is accurate and relevant information.
The query encoder ensures that user questions are understood in context, while the user interface provides an intuitive way to interact with the system. And let’s not forget the feedback loop, which continuously improves the system based on user input. It’s a learning process that never stops, getting smarter and more accurate over time.
Of course, every adventure comes with its challenges. One of the toughest hurdles I faced was preparing contextual data for the RAG. Semantic data, which requires understanding the meaning behind words, doesn’t always play nicely with generic splitting methods. It felt like trying to slice a pie with a chainsaw — messy and imprecise. Custom code became my best friend in creating larger, contextually aware chunks that made sense to both humans and machines.
Another tricky area was Role-Based Access Control (RBAC). When dealing with sensitive data, like HR information, it’s crucial to ensure that only authorized users have access. Metadata became the hero here, tagging chunks with role information to keep everything secure.
Continual improvement is the name of the game in the AI world. Getting RAG to be 95% correct on the first try is a pipe dream. It takes continuous user feedback to refine and perfect the system. A feedback function where users can report errors or ambiguities proved invaluable, allowing the system to learn and adapt. This is where I feel RAG shines, as updates to the vector store (the DB) are quick and you can see the result of the update in minutes.
In summary, my top findings in the RAG domain are:
- Larger context chunks that retain semantics lead to better answers.
- Generic document splitters have their limitations; augmenting and refining these yielded better results.
- The formatted context provided to the LLM improves answer quality by removing structural noise.
- Continuous feedback and improvement are vital for refining the RAG system.
This journey into the AI wilderness has been both challenging and rewarding. As I continue to explore and refine my understanding of RAG, I look forward to sharing more insights and learning from this ever-evolving field. Stay tuned for more adventures!